
If you have a WooCommerce site, one way to get more sales is to offer Apple Pay by letting Apple users a quick and easy way to pay for their purchase.
One of the best and easiest merchant account providers to setup with WooCommerce is Stripe.
If you’re already on Stripe and are running the most up to date Stripe plugin (currently By default, any site with Stripe and the correct API key gets registered automatically into Stripe’s Dashboard page for Domain Management but I found the Staging site had not been added automatically so I added that manually.
I tried using both CommerceGuru’s Shoptimizer and also the “official WooCommerce Storefront Theme initially and that didn’t work initially.
I finally chatted with Stripe support chat and they asked me to de-activate and then re-activate Apple Pay support in their WP plugin settings. That finally did the trick and magically the Apple Pay button appeared!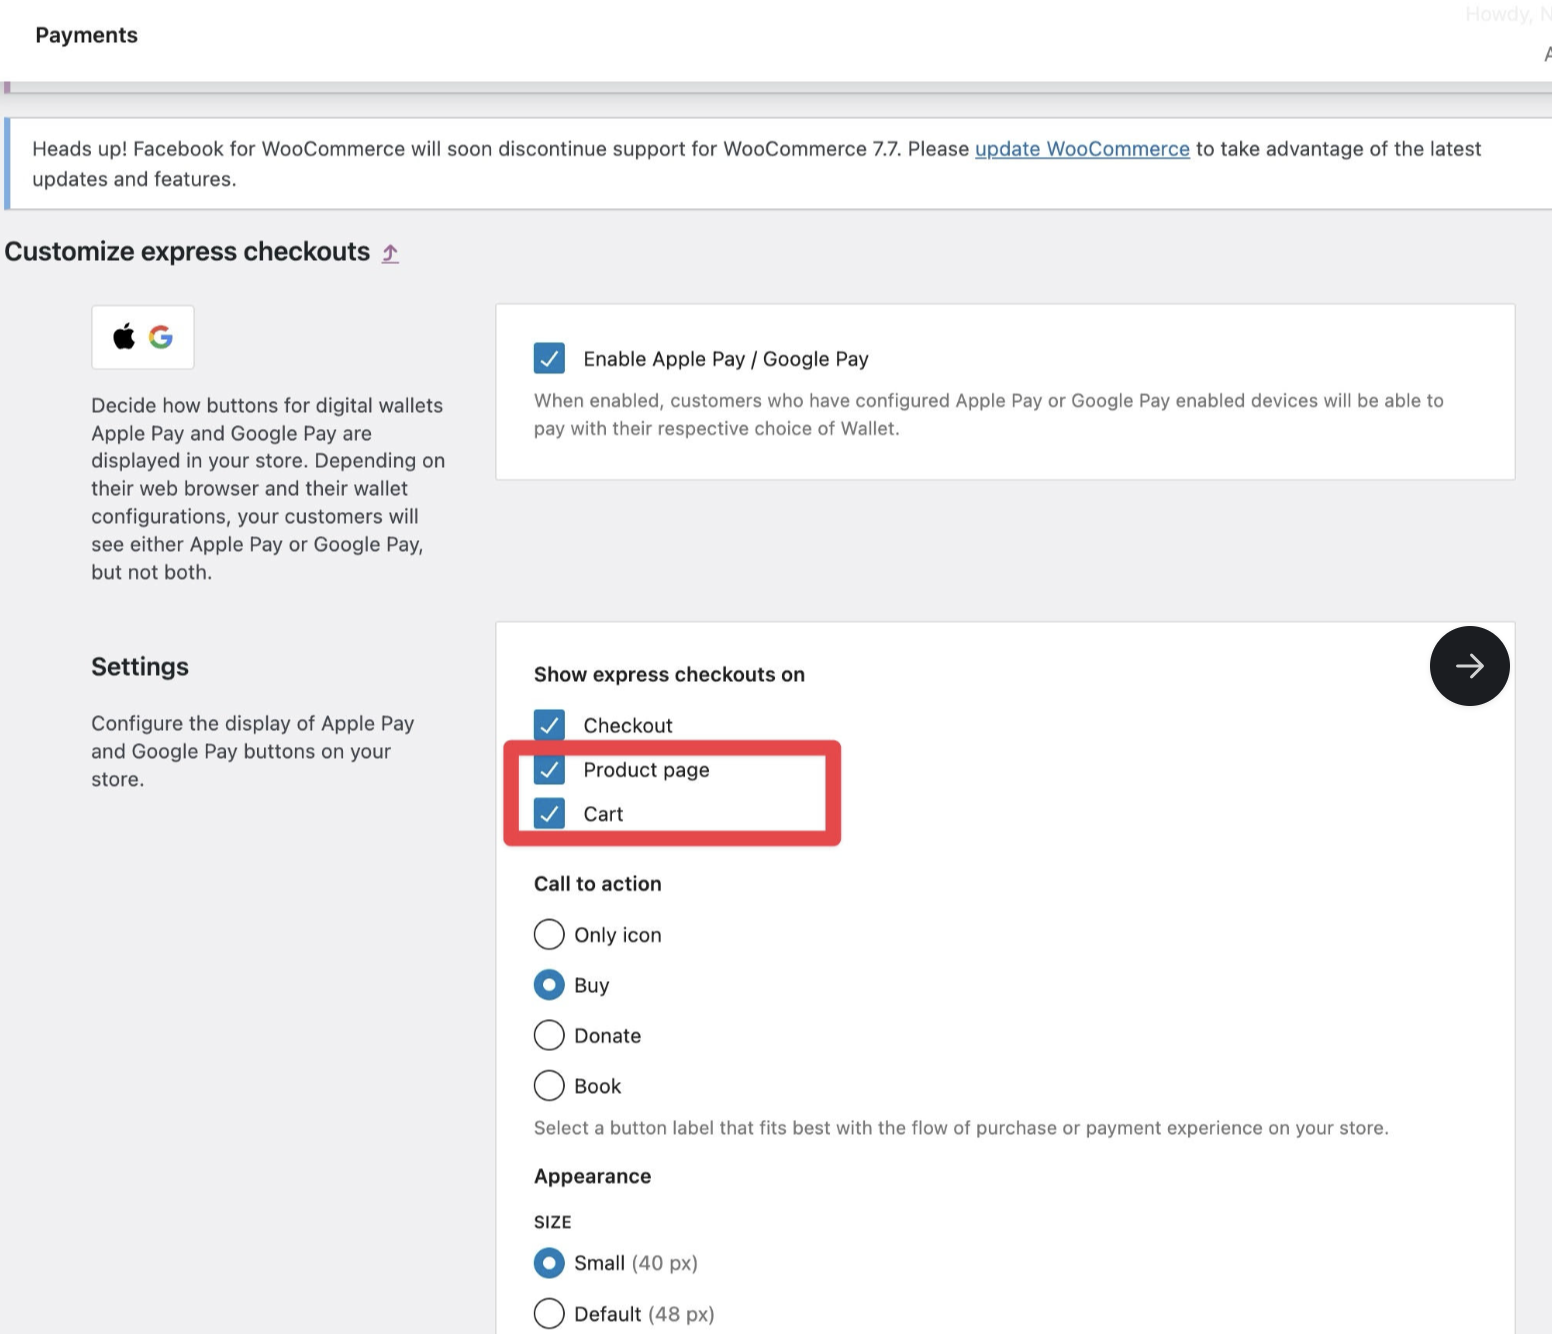
Now the Apple Pay buttons appeared on both WooCommerce Storefront and Shoptimizer themes.


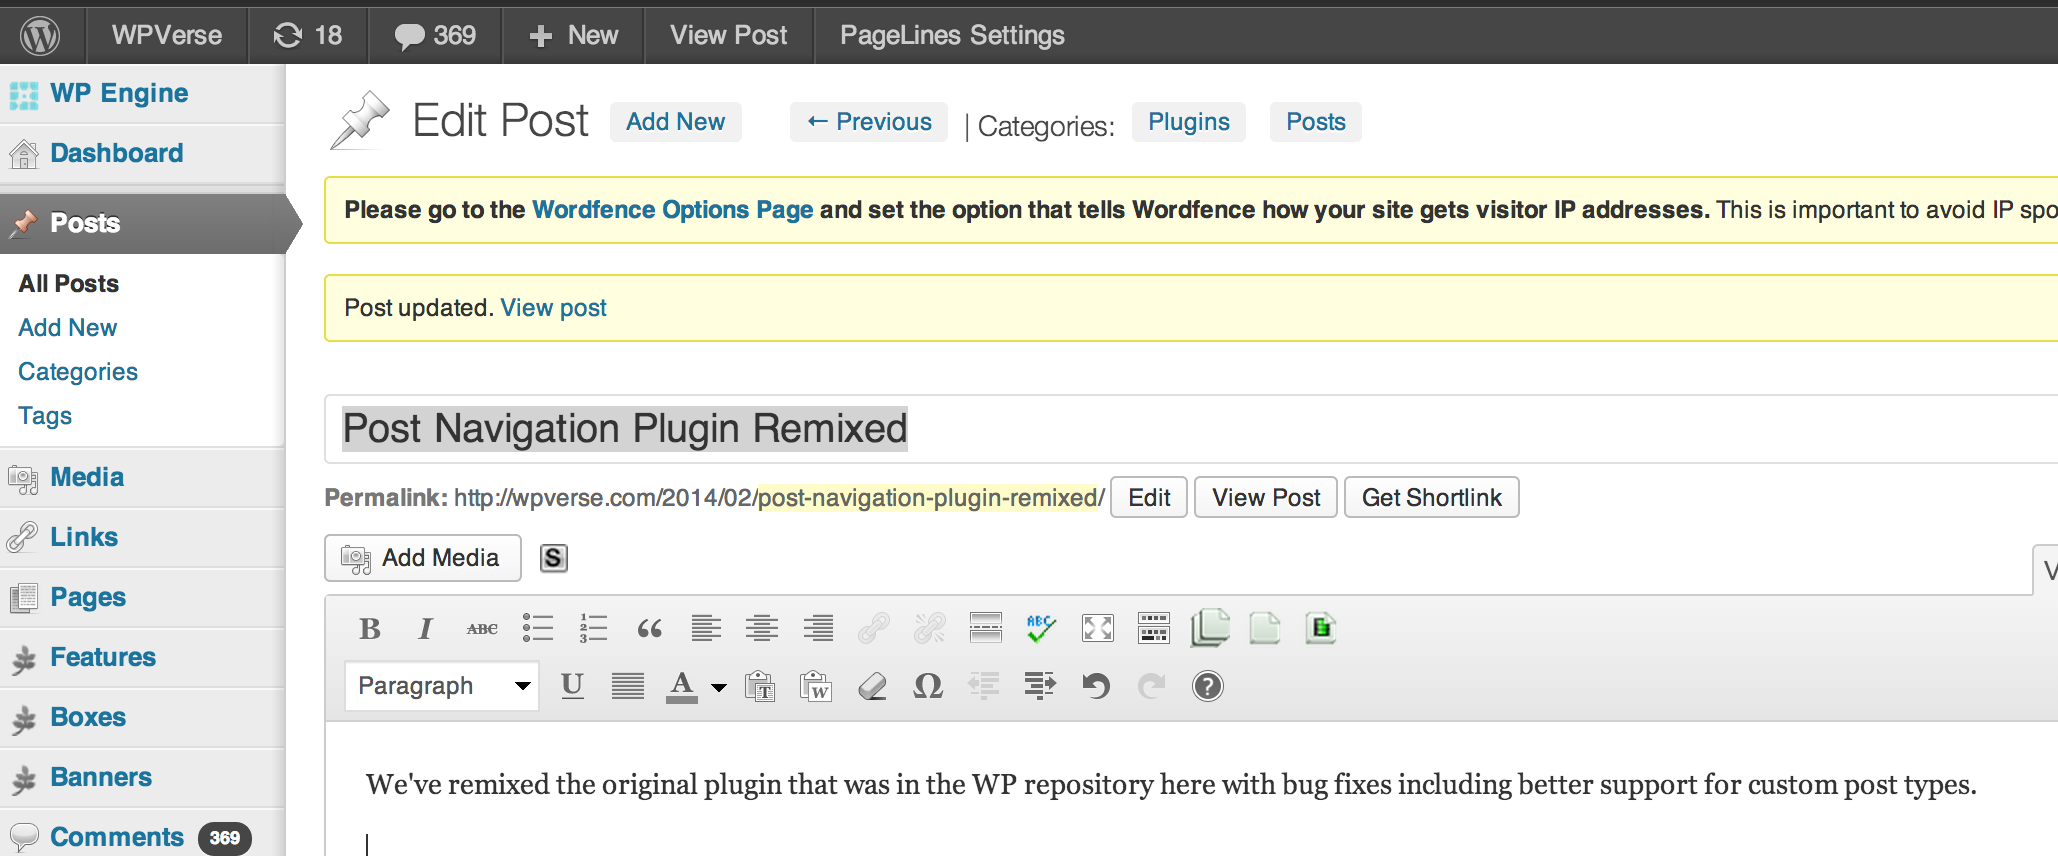

 This is where Advanced Menu Widget kicks in to make your life easier. It gives you the ability to show any navigation menu that you’ve already set up to appear in a widget area. Because it uses the WP menu function, you’re then able to re-label, re-sort, add custom links, and do anything else WP menu allows you to do.
 If you’re building a WordPress site with over 20 pages, in addition to the “
 I recently wanted to show my visitors how many posts I’ve written about WordPress on the WPVerse sidebar automatically so I wouldn’t have to manually keep updating it.